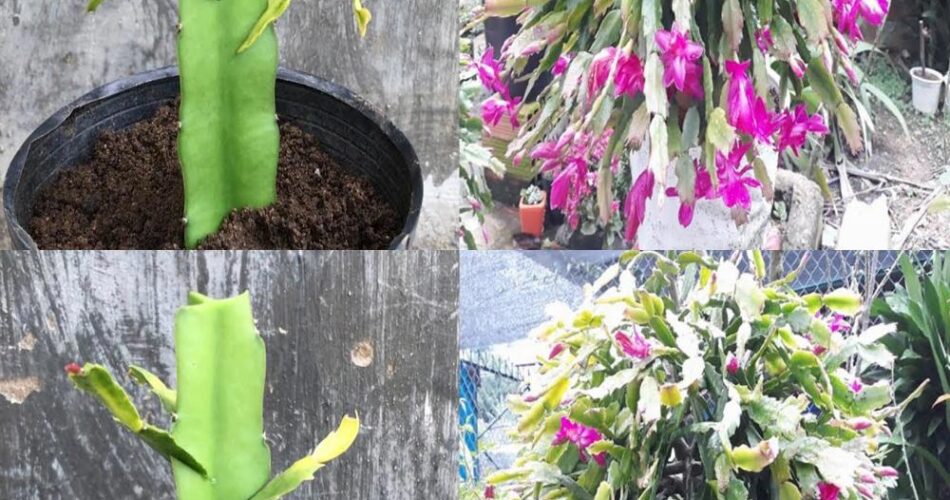
How to Register Trees to Get a Beautiful Flower Gardener
The transplant is an exciting horticultural technique that combines the desired characteristics of different plants to achieve unique results. By grafting trees to create a flower gardener, you can enjoy a variety of colors and shapes in a single container. Here is how to proceed:
Materials Required:
- Root rack (receiver shaft)
- Plugin (donor tree)
- Sharp graft knife
- Disinfected secators
- Registry or grafting tape
- Labels to identify transplants
- Good quality soil
- Pot of appropriate size
Registry Steps:
1. Preparation:
Choose a healthy and vigorous rootstock, preferably the same species as the graft. Remove the graft with at least one growth bud. Make sure the cutting tool is clean to avoid infections.
2. Achievement of the Registry:
Make a bias cut on the rootstock and a corresponding cut on the graft to get a perfect contact between the two parts. Assemble them carefully and attach them with a wax or graft tape.
3. Protection of the Registry:
Protect the graft area from weather and infection by wrapping the graft in aluminium paper or using a specific product. Make sure the transplant stays hydrated.
4. Post-Greffe interview:
Place the grafted gardener in a bright place but in direct sunlight. Water regularly avoiding excess water. Monitor signs of transplant rejection and adjust maintenance accordingly.
5. Monitoring and Monitoring:
Identify the different grafted varieties to fully enjoy. Monitor the growth and health of grafted trees, intervene if necessary to ensure their harmonious development.
By following these steps and taking care of your grafted trees, you can create a beautiful flower garden unique of its kind. Enjoy the diversity of colors and shapes that you have managed to gather thanks to the transplant!