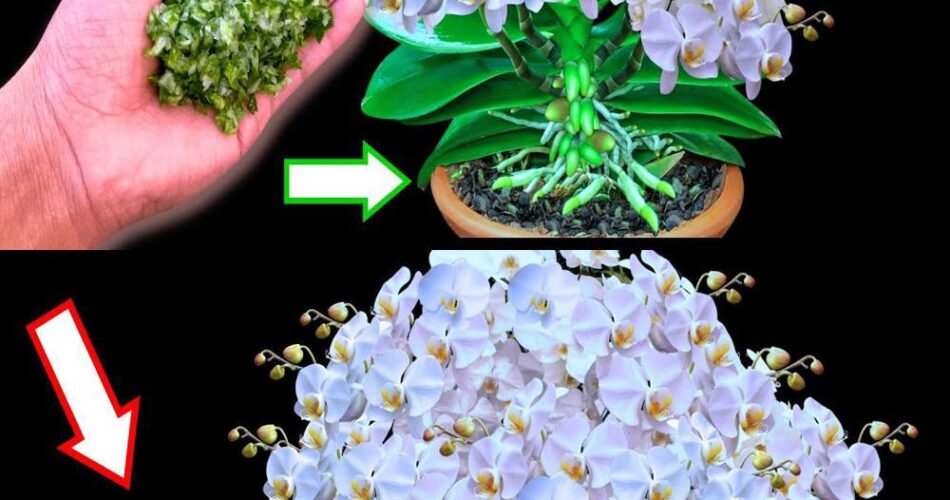
Revitalize your orchids with a magic layer for a vibrant flowering
Orchids are elegant and delicate plants that illuminate our interiors with their beautiful flowers. To ensure a brilliant flowering and revitalize your orchids, a magic trick is to apply a new layer of special earth. Here is how to proceed:
Materials required:
- Specific soil for orchids
- Pot adapted to the size of your orchid
- Water
Steps to follow:
1. Check the condition of your orchid: Before repotting your orchid, observe the state of its roots. If they are intertwined or the substrate is too compact, it is time to replace the soil.
2. Prepare the pot: Choose a pot slightly larger than the previous one to allow root development. Make sure it has drainage holes to avoid excess water.
3. Prepare the earth: Use a specific soil for orchids, rich in nutrients adapted to their needs. You can easily find them in gardening or specialized shops.
4. Gently remove the orchid from its pot: Gently shake the pot to remove the roots from the substrate. Handle the orchid carefully to avoid damaging its fragile roots.
5. Add a new layer of soil: Place a generous amount of soil at the bottom of the new pot, then place the orchid to ensure that the roots are well distributed. Fill the voids with fresh soil.
6. Gently water: After repotting, water your orchid sparingly so as not to drown the roots. Let the water drain through the drainage holes and wait for the substrate to dry slightly before watering again.
7. Place your orchid in a bright place: Orchids need light, but avoid direct exposure to the sun to avoid burning leaves. Choose a bright and airy location to promote healthy growth.
By following these simple steps, you can revitalize your orchids and offer them the ideal conditions for a vibrant flowering. Do not forget to regularly monitor the condition of your plant and adjust the watering and exposure to light according to its needs.