How to change pot for orchid without affecting the plant for beginners
Orchids are beautiful and delicate plants that require special care. When your orchid starts to be narrow in its current pot, it is time to replant it in a larger pot to allow it to continue to flourish. In this article, we will guide you on how to change pot for orchid without affecting the plant, ideal for beginners.
1. Choose the right time
The best time to repot an orchid is after its flowering period, when new shoots begin to appear. This allows the plant to adapt more easily to the change of pot.
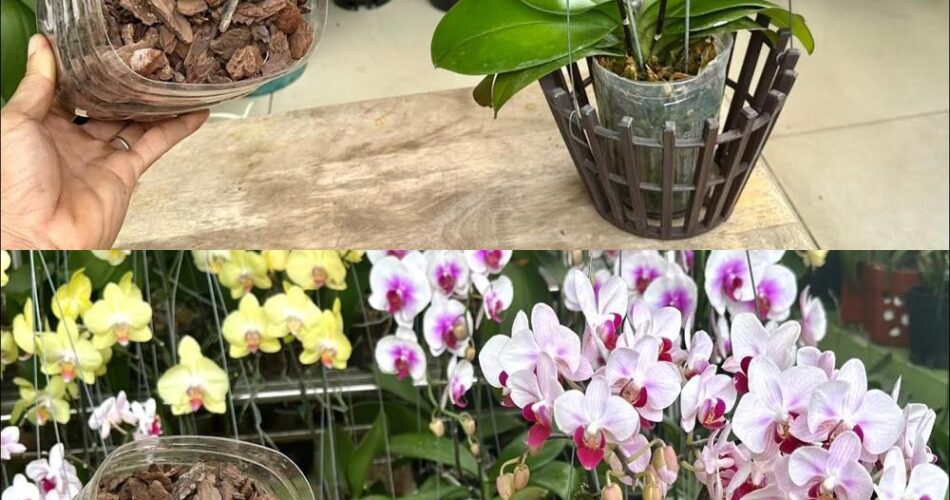
2. Prepare the new pot
- Choose a transparent pot with drainage holes to allow excess water to drain.
- Prepare a mixture of specific soil for orchids, aerated and light to promote drainage.
3. Gently remove the orchid from its current pot
Carefully remove the orchid from its old pot by firmly holding the base of the plant. Gently shake the pot to release the roots without damaging them.
4. Inspect roots
Carefully examine the roots of the orchid to identify any damaged or rotten roots. Cut them with clean, sterilized scissors.
5. Place the orchid in the new pot
- Fill the new pot with a layer of clay balls to promote drainage.
- Gently position the orchid in the centre of the pot, ensuring that its roots are evenly distributed.
- Combinate the pot with the specific earth mixture for orchids by tasting slightly.
6. Water with caution
Gently water the newly repotted orchid by avoiding wetting the leaves. Let the water drain through the drainage holes and empty any excess water from the pot cache.
7. Provide adequate care
Place the orchid in a bright place but without direct exposure to the sun. Make sure to maintain a good level of moisture and water regularly, allowing to dry slightly between waterings.
With these simple steps, you can change pot for your orchid without affecting the plant. Take your time and handle the plant delicately to ensure that it continues to flourish in its new environment.