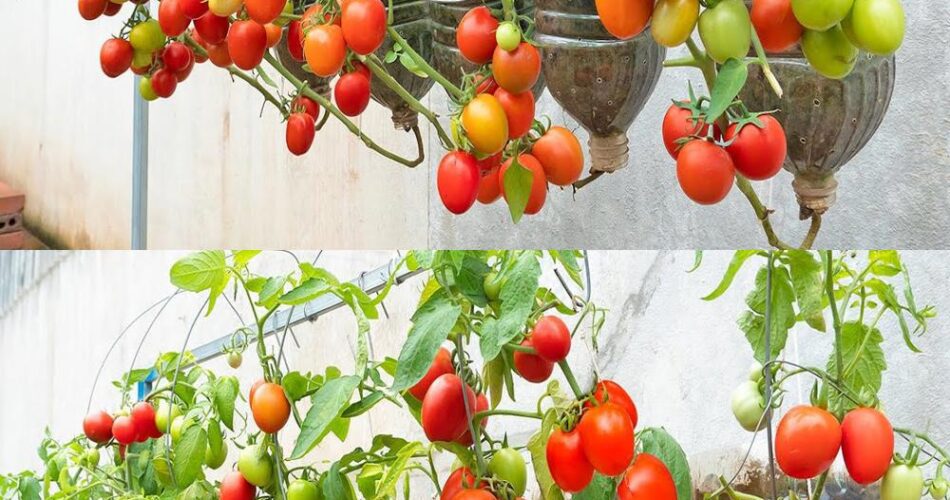
How to grow tomatoes in plastic bottles: tomatoes without a garden!
You dream of growing your own tomatoes, but you don’t have a garden? Don’t panic! It is quite possible to grow tomatoes using plastic bottles. This economical and ecological method will allow you to enjoy delicious homemade tomatoes, even if you only have a small space available. Follow our step by step guide to start your own urban gardening.
Materials required:
- Transparent plastic bottles (preferably 2-litre bottles)
- Planting soil
- Tomato seeds
- Scotch
- Birds
Cultivation Steps:
1. Preparation of cylinders:
- Clean the plastic bottles carefully and remove the labels.
- Cut the bottle in half, making sure the bottom is wider than the opening. This will create a water tank at the bottom of the bottle for irrigation.
- Drill small holes in the bottom of the bottle to allow excess water to flow.
2. Seed planting:
- Fill the bottom part of the bottle (water tank) with soil.
- Add the tomato seeds to the soil following the instructions on packaging.
- Cover the soil seeds lightly and gently.
3. Irrigation implementation:
- Reposition the upper part of the bottle (the neck) inverted in the water tank.
- Attach both parts of the bottle together with scotch to form a drip irrigation system.
4. Plant maintenance:
- Place your tomato bottles in a sunny place, such as a balcony or window.
- Water regularly by checking that the water tank is not empty.
- Size and tutor your tomato plants as they grow to support them.
- Add organic fertilizer once a month to promote plant growth.
With a little patience and care, you can soon harvest your own tasty tomatoes grown in plastic bottles. This clever method will allow you to enjoy fresh and quality products, even without a garden. So start this adventure of urban gardening and enjoy your own harvest!