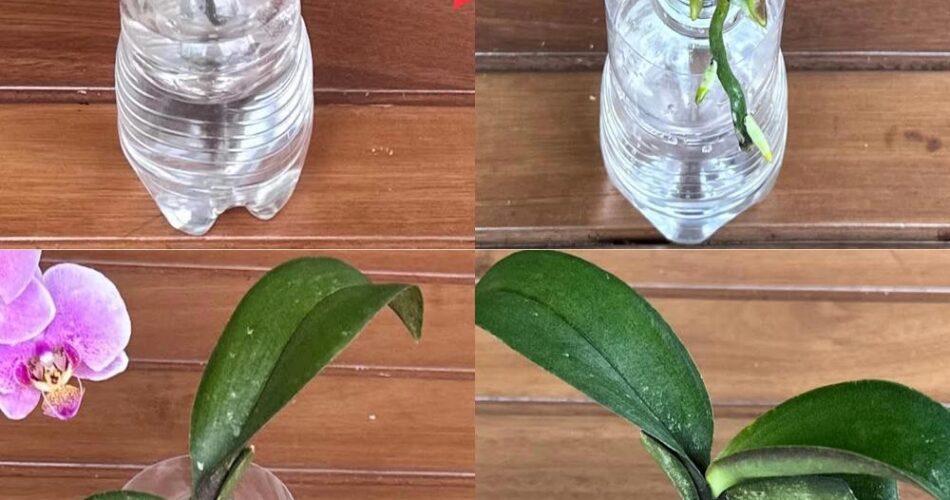
I’ve raised the roots and young leaves of the orchid to 100% thanks to this method!
Orchids are beautiful plants, known for their beauty and delicacy. However, it can sometimes be difficult to keep these plants healthy, especially when it comes to revitalizing the roots and young leaves of an orchid in distress. In this article, I will share with you a method that I have successfully used to revive my 100% orchids.
Step 1: Identify Orchid Health Status
Before starting the revitalization process, it is essential to identify the health status of your orchid. Carefully examine the roots and leaves for signs of disease, rot or drought.
Step 2: Preparing an enabling environment
Make sure that the orchid is placed in a bright place, but without direct exposure to the sun. Maintain adequate moisture by spraying water around the plant and placing a water container nearby to maintain room moisture.
Step 3: Orchid Recovery
- Gently remove the orchid from its existing pot by not damaging the roots.
- Inspect the roots and cut those that are dry, rotten or damaged.
- Replant the orchid in a new pot with a specific orchid substrate.
Step 4: Provide the necessary nutrients
Use a balanced fertilizer for orchids and follow the instructions on quantity and frequency of application. Nutrients will help stimulate the growth of roots and young leaves.
Step 5: Monitor and Adjust
Continue to monitor the health of your orchid regularly. Adjust lighting, watering and fertilizer if necessary to maintain an optimal plant environment.
With patience and diligence, you will be able to see your efforts rewarded when the roots and young leaves of your orchid begin to revitalize and regain their radiance in the past. By following this method, I have managed to restore my orchids to 100%, and you can also achieve exceptional results by taking proper care of your plants.